I start in Original Pattern Drafting Mode in DAK.
Step 1: Select "Add a Block (new piece)" from the "Piece" menu.
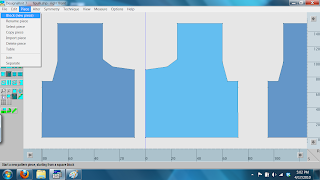 Step 2: Go to the "Options" menu and chose "Units of Measurement" select "Stitches and Rows." So that you can make this new piece EXACTLY 8 stitches wide, and as long as the placket on your cardigan.
Step 3: Drag the pieces so that the edges are touching.
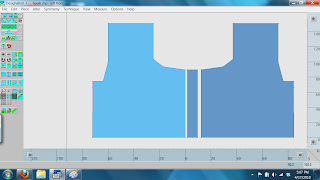 Like this.
Step 4: In the "Piece" menu, chose join. Click on the top right corner of the steek piece and the top left corner of the placket (they are on top of eachother at this point, so click on the same point twice), then click on the bottom right corner of the steek and the bottom left corner of the placket (again, they are on top of eachother). The pieces should merge and look like this:
 Go back to the "Piece" menu and select "Join" again. Repeat the same steps to join both halves. Save your work.
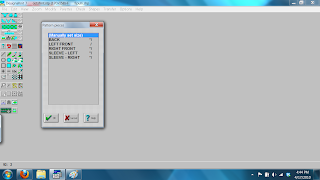
Step 5: Change modes into Stitch Designer. Choose "File" and "New." Manually set size, giving yourself plenty of room to work with. I selected 200 stitches x 200.
 Step 6: Select "Edit" and "Tile import." Just opening the file and using repeats to fill the cardigan won't work, we are going to be controlling each and every stitch here!
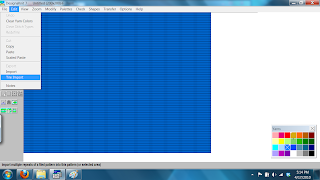 Choose the fairisle pattern you want on your sweater.
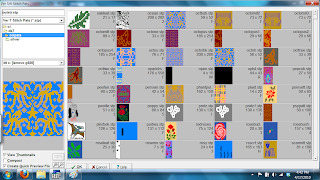 Step 7: "File" and "Open Shape File." Chose your shape file, and then "Shapes" and "View Piece." Select the piece you created earlier. Position the piece so that the LEFT side of the piece has the motif in the right spot. You will probably want both sides symmetrical. That is what we will take care of next.
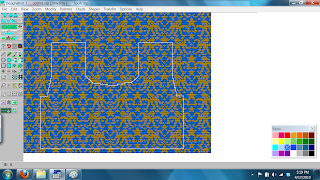 Step 8: Select all the stitches of the steek and the whole right side of the sweater with the selection box. Use handles to line it up properly.
 Step 9: "Edit" and "Clear yarn colors."
 Step 10: Use the selection tool to select the left side of the cardigan front, not including the steek. Hit cntrl+c or use "Edit" and "Copy."
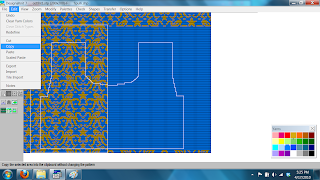 Step 11: Cntrl+v or "Edit" and "Paste." Press and hold the control key, then drag the piece to the right side of your screen and plop it down. It will de-select. Just hit the selection box button to reselect the piece and move it until it is just on the other side of the steek.
 Step 12: Use your pencil or line tool to create your steek lines. I also like to put solid lines on the seam edges so that I have a clean seam line.
 You are ready to do your interactive knitting (which I will show you next). Also included will be how to control those crazy long floats you might have worried about with my octopus pattern.

No comments:
Post a Comment